Create and Deploy Your First NFT
This guide walks you through the process of creating and deploying your own ERC-721 NFT on Jovay, a fully Ethereum-compatible blockchain. If you're already familiar with using Foundry to develop smart contracts, you'll feel right at home — Just write, build, and deploy like you always do. New to Foundry? No problem. This document follows standard Foundry practices and includes all the steps you need to get started with confidence.
By the end, you’ll have:
- A working ERC-721 NFT contract
- Experience deploying and verifying smart contracts
- The skills to mint and interact with your NFTs programmatically
Before you begin, please note the connection details for the network you are targeting:
| Network | RPC URL | Chain ID |
|---|---|---|
| Jovay Mainnet | https://rpc.jovay.io | 5734951 |
| Jovay Testnet | https://api.zan.top/public/jovay-testnet | 2019775 |
This guide will use the Testnet configuration in its examples.
🧰 Prerequisites
Before starting, make sure you have:
- Have Foundry Installed – Foundry
- Have an account with funds – You can get DEV tokens for testing on Jovay once every 24 hours from the Faucet
- Access to Jovay Devnet or Testnet – To deploy and interact with your nft, you will need to have your own endpoint and API key, which you can get from one of the supported QuickStart
Step 1: Set Up Your Project
Clone the example repository:
bashwget 'https://web3-static-prod.oss-ap-southeast-1.aliyuncs.com/static/Jovay/JovayExamples.tar.gz' tar -xvzf JovayExamples.tar.gz cd JovayExamples/foundry/ERC721Example/Install OpenZeppelin Contracts:
Foundry uses forge to manage dependencies. Install OpenZeppelin contracts:
bashforge install OpenZeppelin/openzeppelin-contracts --no-git
Step 2: Configure Your Environment
Before writing the contract, it's best to set up your deployment environment.
1. (Optional) Generate a Private Key
To deploy contracts, you need a wallet with a private key. If you don't have one, you can generate a new one using ethers.js.
First, install ethers.js in a temporary directory:
npm i ethersNext, create and run a gen_eth_key.js script to get a new keypair.
const { ethers } = require('ethers');
const wallet = ethers.Wallet.createRandom();
console.log('Private Key:', wallet.privateKey);
console.log('Address    :', wallet.address);
Run the script:
node gen_eth_key.jsThe output will give you a new Private Key and Address. Save these securely. You will use the Private Key in the next step. Remember to also send some testnet funds to the new Address using the Jovay Faucet.
2. Set Environment Variables
Foundry scripts read configuration like private keys and RPC URLs from environment variables. You can set them in your shell for the current session.
For Testnet (as used in this guide's examples):
export PRIVATE_KEY="YOUR_TESTNET_WALLET_PRIVATE_KEY"
export RPC_URL="https://api.zan.top/public/jovay-testnet"
For Mainnet:
export PRIVATE_KEY="YOUR_MAINNET_WALLET_PRIVATE_KEY"
export RPC_URL="https://rpc.jovay.io"
Tip: For a more permanent solution, you can add these
exportlines to your shell's profile file (e.g.,.bashrc,.zshrc) or save them in a.envfile and runsource .envin your terminal before you start working.
Step 3: Write the NFT Contract
Create a New Solidity File:
bashtouch src/MyNFT.solPaste the following code into
src/MyNFT.sol:solidity// SPDX-License-Identifier: MIT pragma solidity ^0.8.20; import {ERC721} from "@openzeppelin/contracts/token/ERC721/ERC721.sol"; import "@openzeppelin/contracts/access/Ownable.sol"; contract MyNFT is ERC721, Ownable { uint256 public nextTokenId; mapping(uint256 => string) private _tokenURIs; event Minted(address to, uint256 tokenId, string tokenURI); constructor() ERC721("MyNFT", "MNFT") Ownable(msg.sender) {} function mint(address recipient, string calldata _tokenURI) external onlyOwner { uint256 tokenId = nextTokenId; nextTokenId++; _safeMint(recipient, tokenId); _tokenURIs[tokenId] = _tokenURI; emit Minted(recipient, tokenId, _tokenURI); } function tokenURI(uint256 tokenId) public view override returns (string memory) { _requireOwned(tokenId); return _tokenURIs[tokenId]; } }Compile the Smart Contract:
bashforge buildTest the Smart Contract (optional but recommended):
bashtouch test/MyNFT.t.solPaste the following code into
test/MyNFT.t.sol:solidity// SPDX-License-Identifier: MIT pragma solidity ^0.8.20; import "forge-std/Test.sol"; import "../src/MyNFT.sol"; contract MyNFTTest is Test { MyNFT public nft; address public owner = address(0x1); address public alice = address(0x2); string public constant TEST_URI = "ipfs://test-uri"; function setUp() public { vm.prank(owner); nft = new MyNFT(); } // Test name and symbol function testNameAndSymbol() public view { assertEq(nft.name(), "MyNFT"); assertEq(nft.symbol(), "MNFT"); } // Test initial state function testInitialState() public view { assertEq(nft.nextTokenId(), 0); } // Test minting assigns correct owner and tokenId function testMintAssignsToken() public { vm.startPrank(owner); uint256 tokenId = nft.nextTokenId(); nft.mint(alice, TEST_URI); assertEq(nft.ownerOf(tokenId), alice); assertEq(nft.tokenURI(tokenId), TEST_URI); assertEq(nft.nextTokenId(), tokenId + 1); assertTrue(nft.balanceOf(alice) > 0); vm.stopPrank(); } // Test only owner can mint function testOnlyOwnerCanMint() public { vm.expectRevert( abi.encodeWithSelector(Ownable.OwnableUnauthorizedAccount.selector, alice) ); vm.prank(alice); nft.mint(alice, TEST_URI); } // Test token exists after mint function testTokenExistsAfterMint() public { vm.startPrank(owner); uint256 tokenId = nft.nextTokenId(); nft.mint(alice, TEST_URI); assertEq(nft.ownerOf(tokenId), alice); vm.stopPrank(); } // Test tokenURI reverts if queried for non-existent token function testTokenURIForNonExistentTokenFails() public { bytes4 ERC721_NONEXISTENT_TOKEN_SELECTOR = bytes4(keccak256("ERC721NonexistentToken(uint256)")); vm.expectRevert(abi.encodeWithSelector(ERC721_NONEXISTENT_TOKEN_SELECTOR, 0)); nft.tokenURI(0); // tokenId 0 does not exist yet } // Test event is emitted on mint function testMintEmitsEvent() public { vm.startPrank(owner); uint256 tokenId = nft.nextTokenId(); vm.expectEmit(true, true, true, true); emit MyNFT.Minted(alice, tokenId, TEST_URI); nft.mint(alice, TEST_URI); vm.stopPrank(); } }Test it:
bashforge test
Step 4: Deploy the NFT Contract
Create a Deployment Script:
bashtouch script/DeployMyNFT.s.solPaste the following code into
script/DeployMyNFT.s.sol:solidity// SPDX-License-Identifier: MIT pragma solidity ^0.8.0; import "forge-std/Script.sol"; import "../src/MyNFT.sol"; contract DeployNFT is Script { function run() external { uint256 deployerPrivateKey = vm.envUint("PRIVATE_KEY"); vm.startBroadcast(deployerPrivateKey); MyNFT nft = new MyNFT(); vm.stopBroadcast(); console.log("MyNFT deployed at:", address(nft)); } }Deploy the contract:
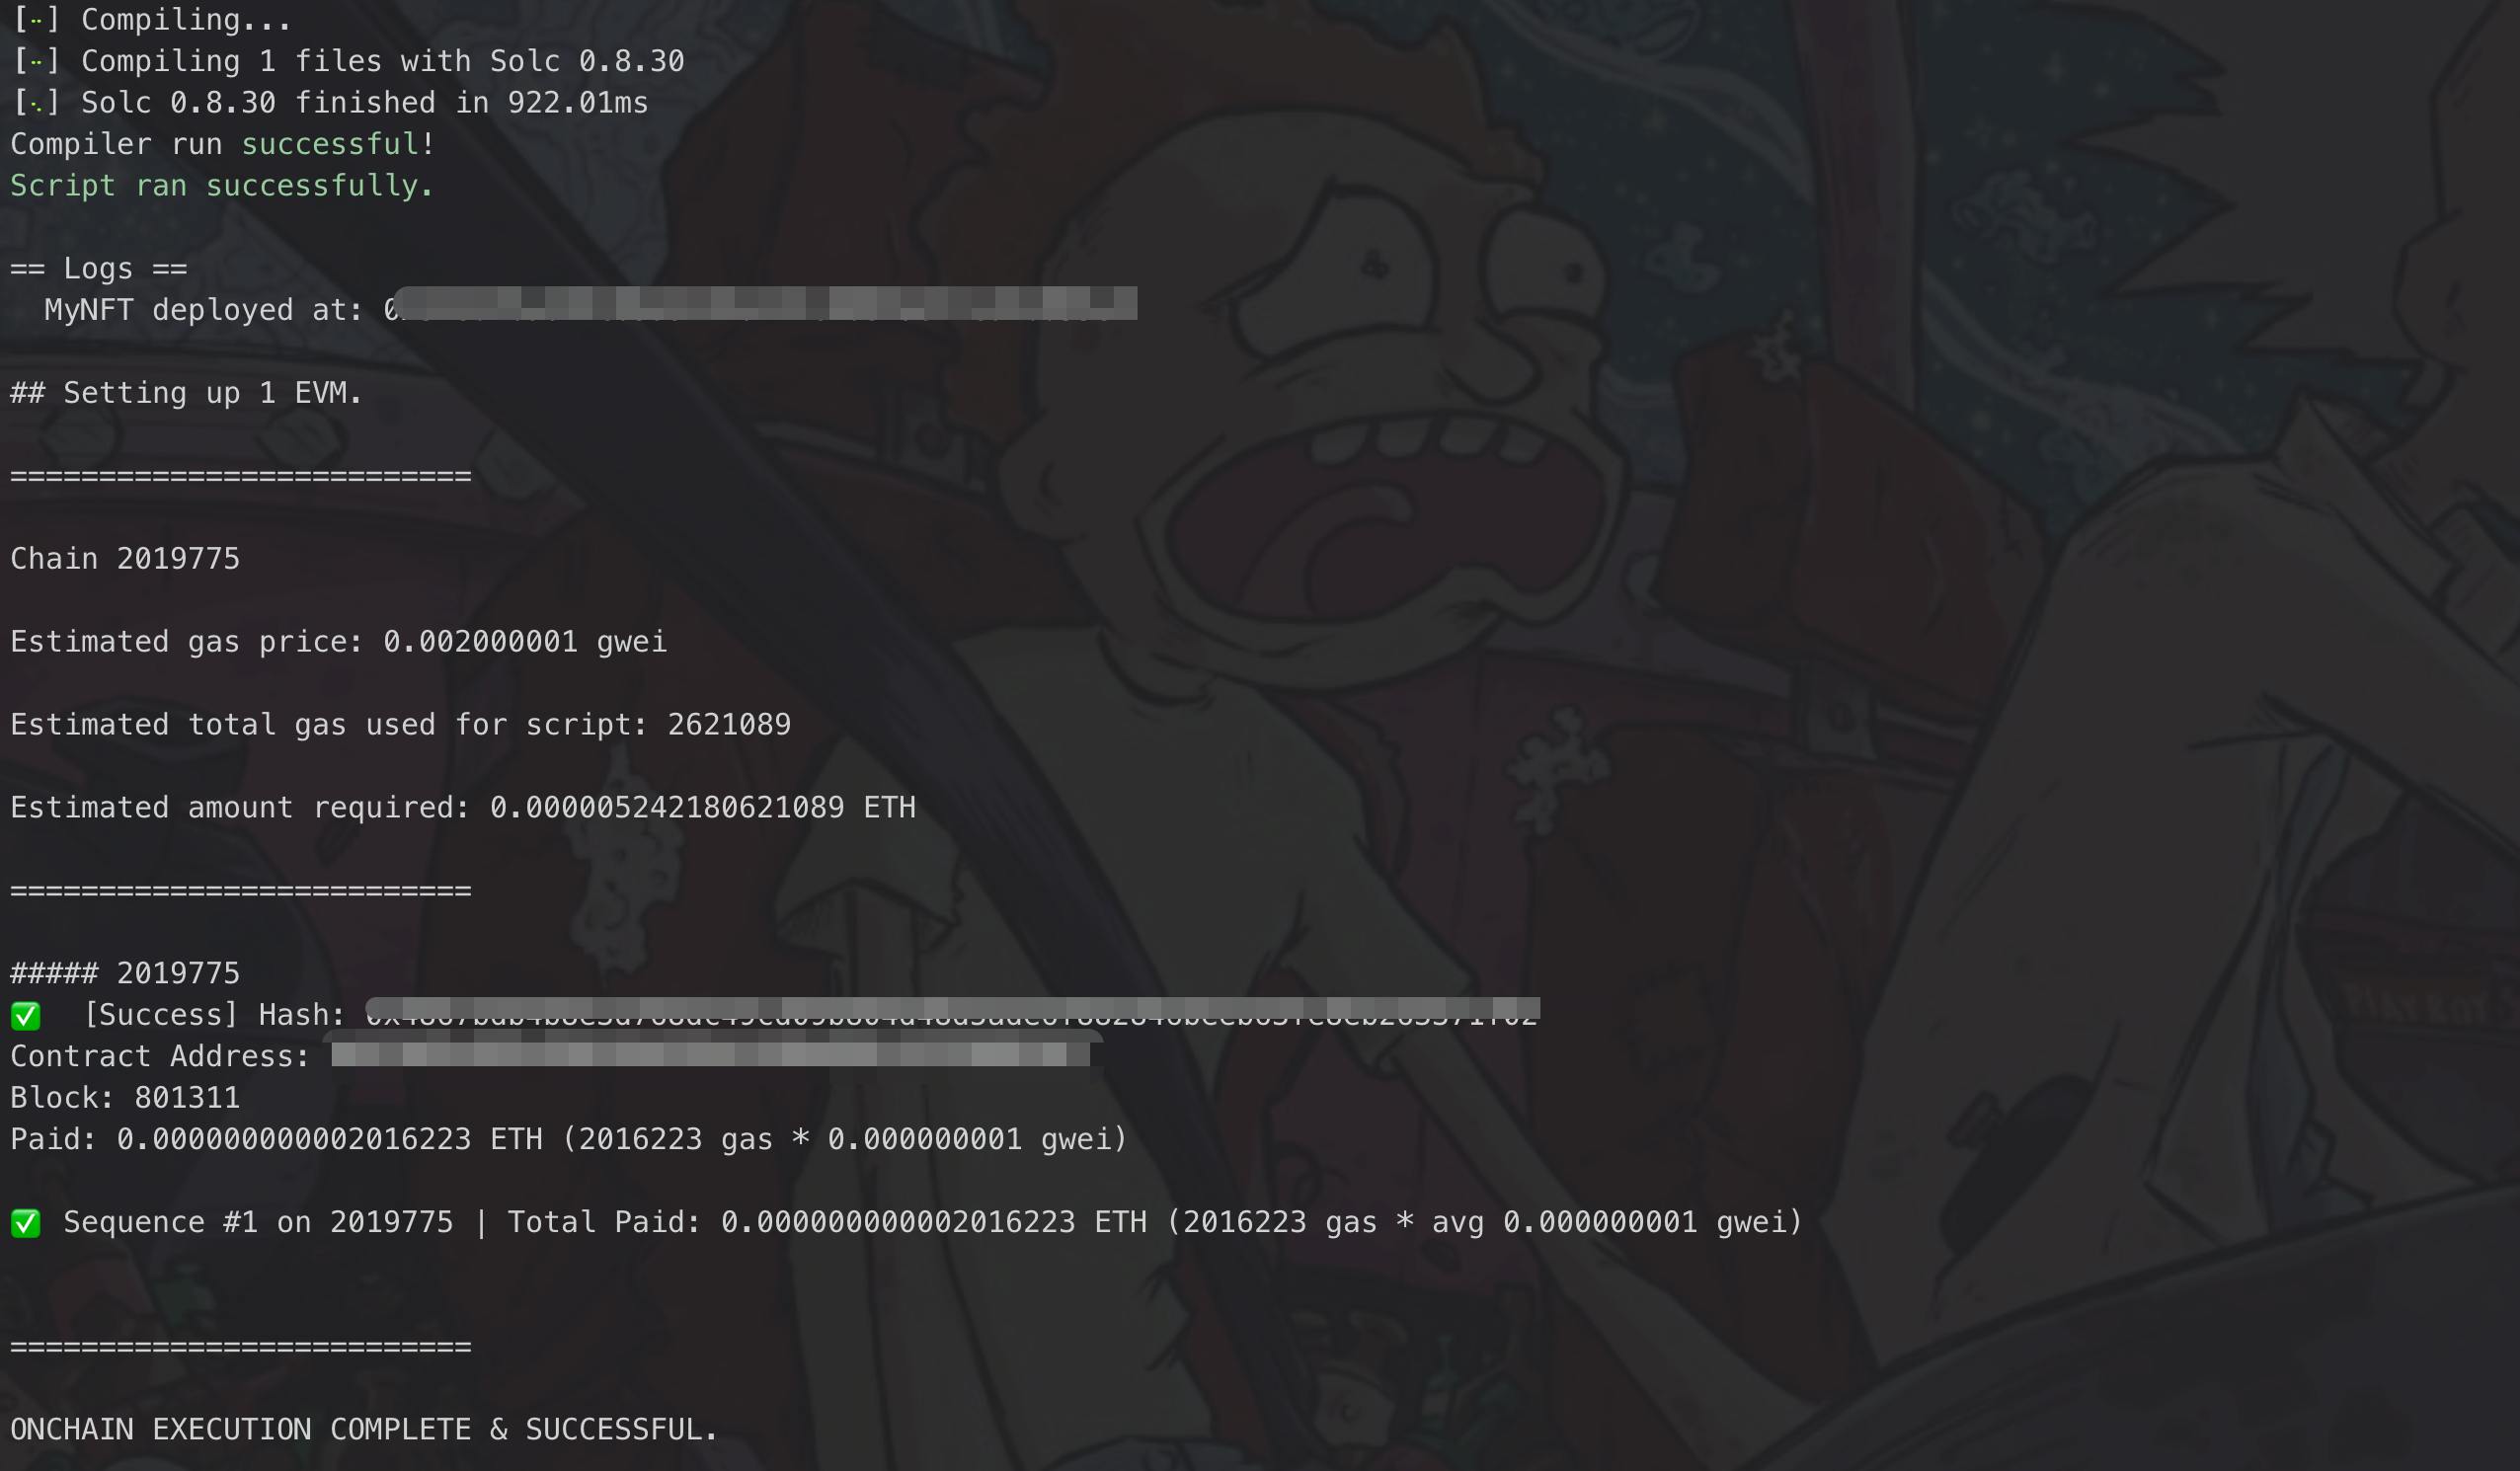
bashforge script script/DeployMyNFT.s.sol --rpc-url $RPC_URL --broadcastIf your script's execution succeeds, your terminal should resemble the output below:
Step 5: Interact with the NFT Contract
Create a script:
bashtouch script/InteractMyNFT.s.solPaste the following code into
script/InteractMyNFT.s.sol:solidity// SPDX-License-Identifier: MIT pragma solidity ^0.8.20; import "forge-std/Script.sol"; import "../src/MyNFT.sol"; contract InteractNFT is Script { function run() external { // Load private key from environment variable uint256 deployerPrivateKey = vm.envUint("PRIVATE_KEY"); // Start broadcasting transactions vm.startBroadcast(deployerPrivateKey); // Replace with your deployed contract address address nftAddress = vm.envAddress("NFT_ADDRESS"); MyNFT nft = MyNFT(nftAddress); // Mint an NFT to yourself (or another recipient) address recipient = 0x790dc68e4DaBac77Be8671043Fa2FefB26d079CC; // Example recipient string memory tokenURI = "ipfs://QmTTrwbe7Y1GM8qj1sZjKKR73Fz7V9V3aXjJ1o7pLjJDgM"; // Example IPFS URI nft.mint(recipient, tokenURI); console.log("NFT minted to:", recipient); console.logString(tokenURI); // Stop broadcasting vm.stopBroadcast(); } }Set your NFT address:
bashexport NFT_ADDRESS=<your nft address>Execute the script:
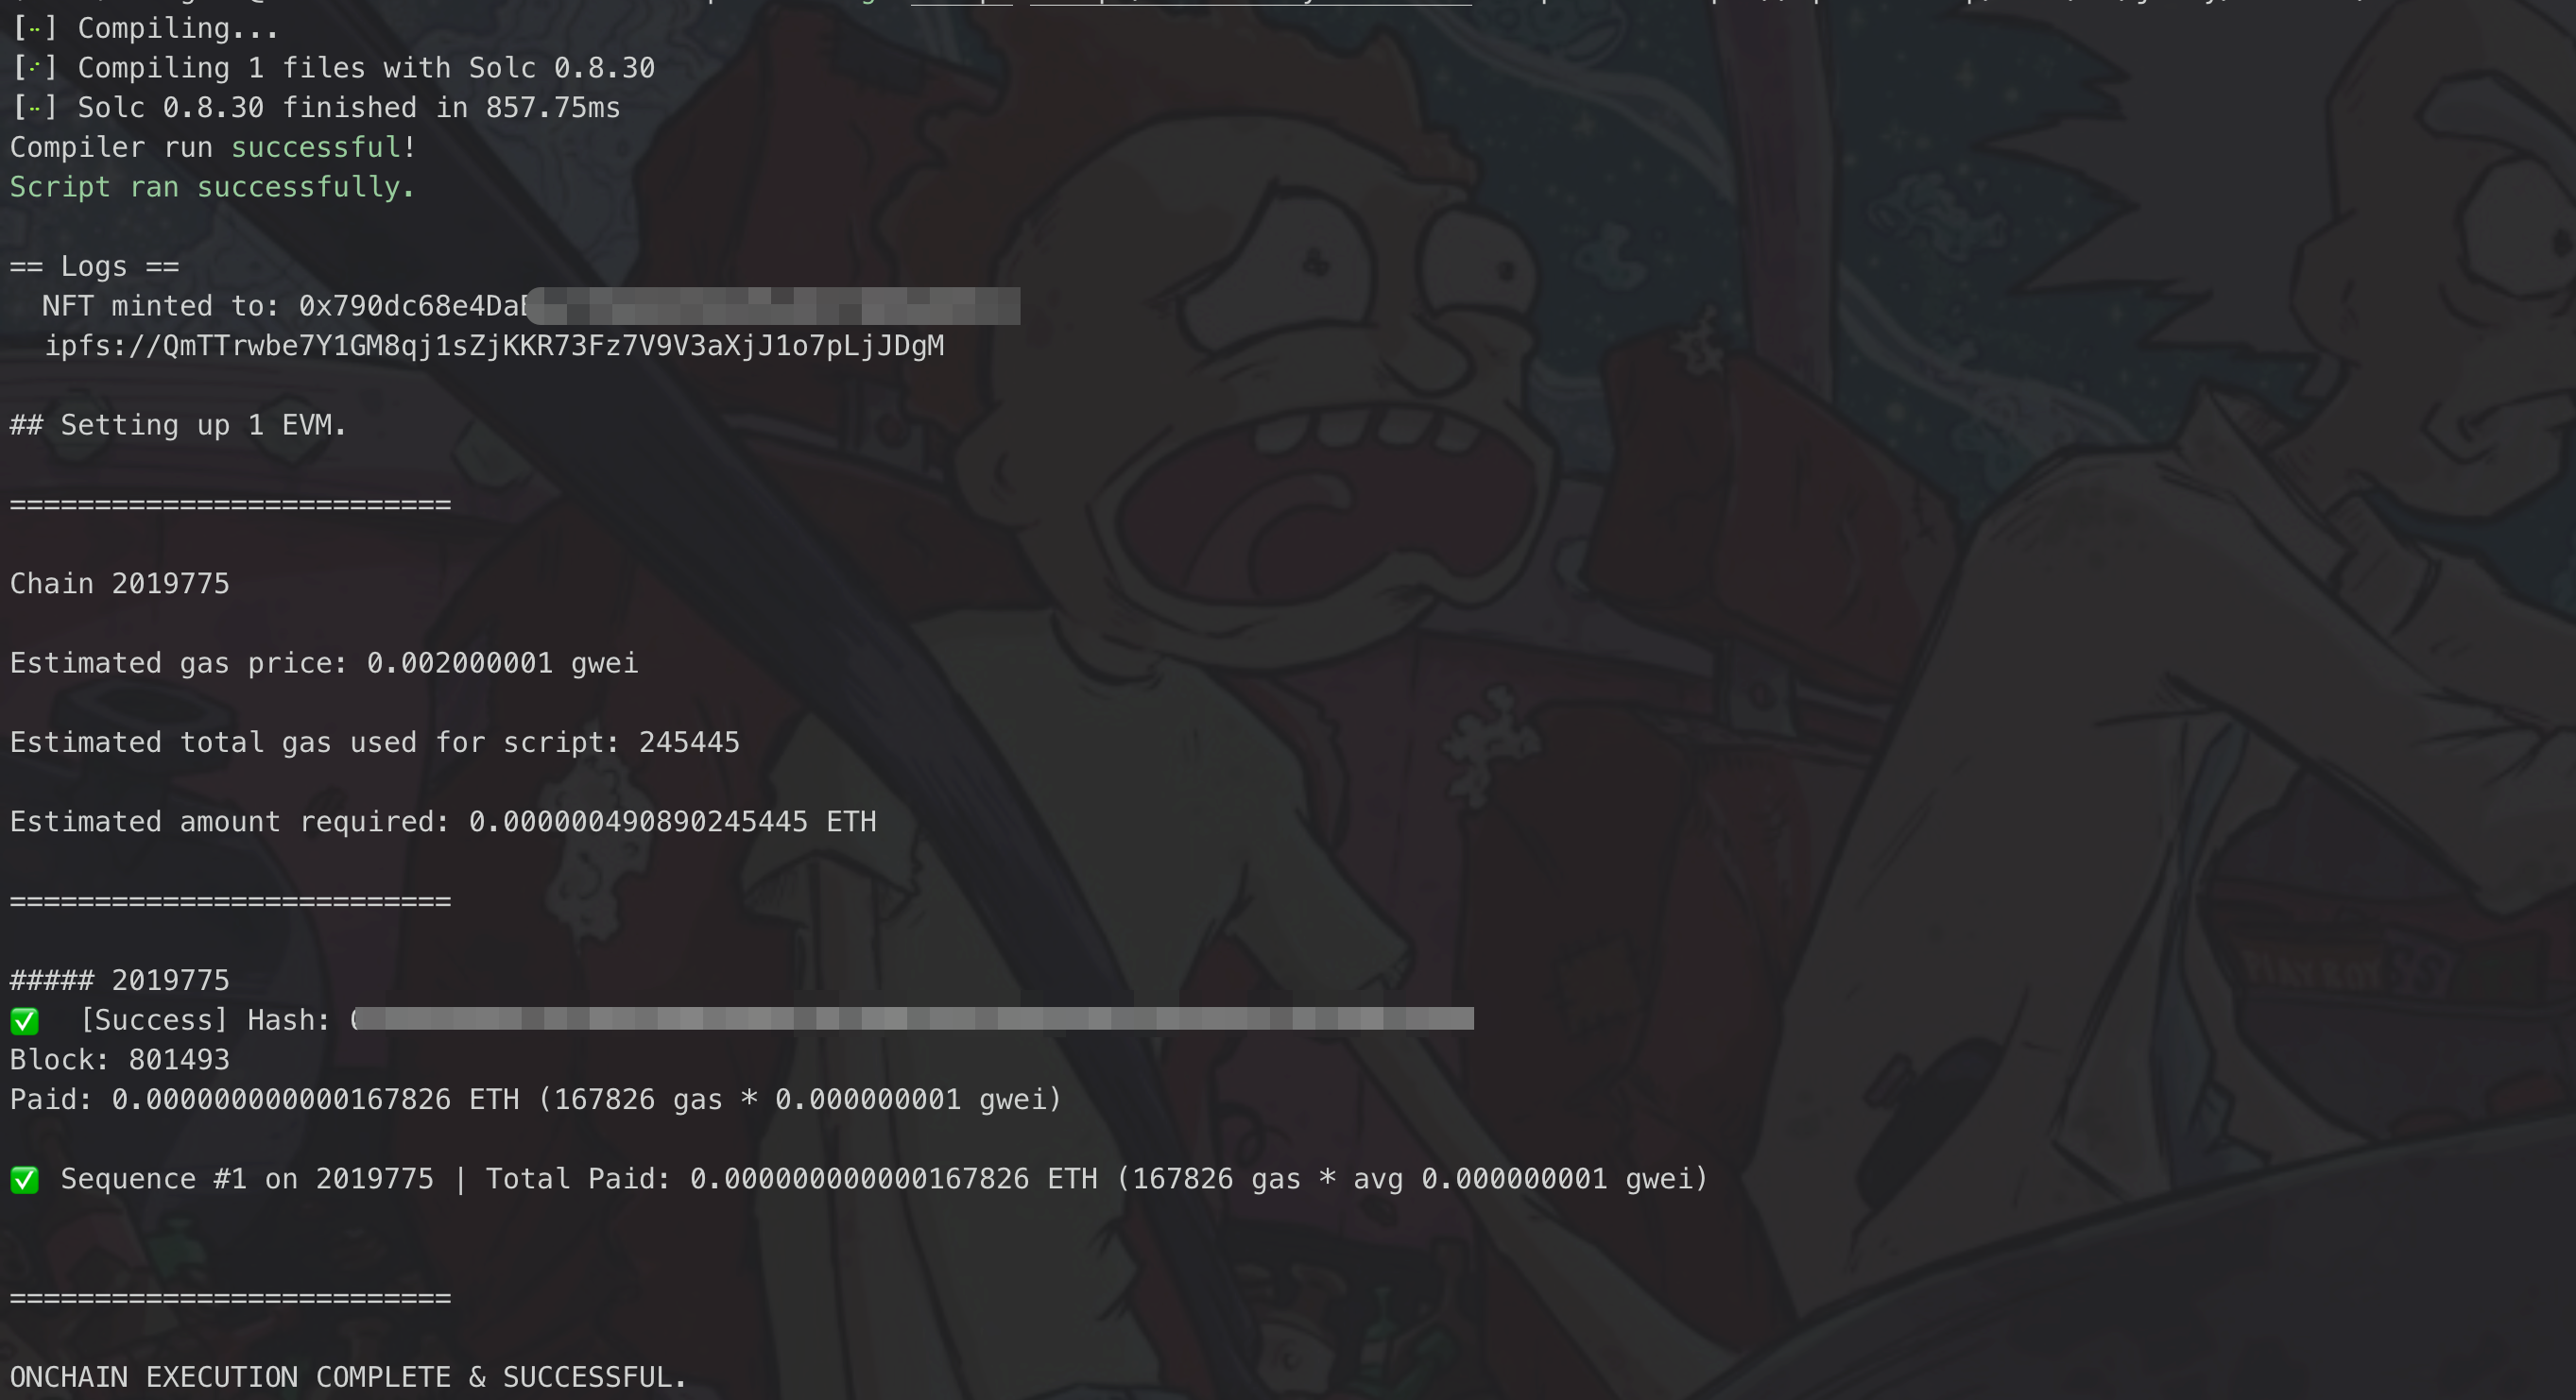
bashforge script script/InteractMyNFT.s.sol --rpc-url $RPC_URL --broadcastIf your script's execution succeeds, your terminal should resemble the output below:
❓ Troubleshooting Tips
- Deployment fails? Make sure your wallet has enough testnet tokens.
- Minting fails? Confirm that you're the owner and calling from the correct address.
- Verification fails? Double-check the contract address and compiler version.
✅ Conclusion
You've just built, deployed, and interacted with your first ERC-721 NFT on the Jovay blockchain using Foundry!
This gives you the foundation to:
- Add metadata and IPFS integration
- Implement batch minting
- Build marketplaces or staking integrations
If you hit any issues, refer back to this guide or consult the official Foundry documentation.
Happy coding! 🚀